> ## Documentation Index
> Fetch the complete documentation index at: https://kb.verpex.com/llms.txt
> Use this file to discover all available pages before exploring further.
# Managing Your Domains in Enhance
> Learn how to manage and add domains, subdomains, and aliases in the Enhance control panel.
## Managing domains in Enhance
You can manage the following settings for a domain:
* Document root directory.
* Email authentication (DKIM).
* Mail routing.
* DNS records.
To do this, follow these steps:
1. Log in to your Enhance control panel.
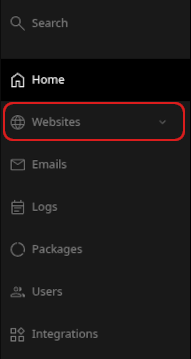
2. In the left sidebar, click **Websites**:
3. On the **Manage websites** page, click the website you want to manage.
4. A list of tabs appears at the top of the page. Click the **Domains** tab:

5. The **Domains** page appears:

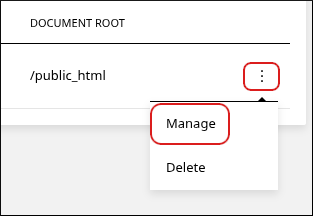
6. Locate the domain you want to manage, click the three-dot menu, and then click **Manage**:
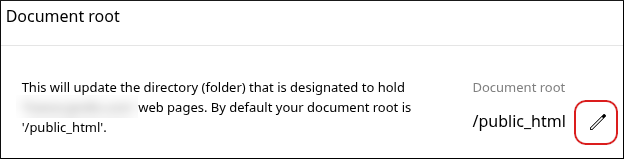
7. To change the document root directory, in the **Document root** section, click the pencil icon:
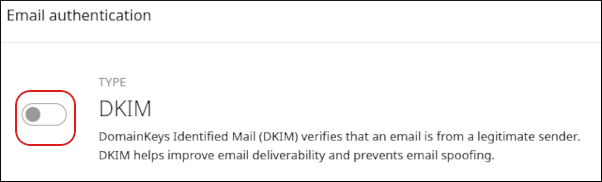
8. To enable DKIM (DomainKeys Identified Mail) for the domain, in the **Email authentication** section, click the **DKIM** slider:
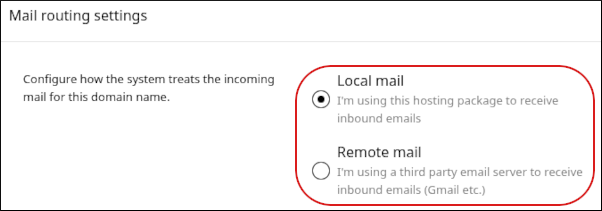
9. To configure mail routing for the domain, in the **Mail routing settings** section, click **Local mail** or **Remote mail**.
You only need to change this setting if you are using a third-party email provider to receive inbound email messages.
10. To manage DNS records for the domain, scroll down to the **DNS records** section. A list of DNS records for the domain appears:
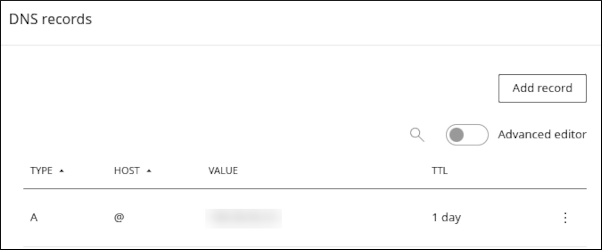
* To modify an existing record, click the three-dot menu, and then click **Edit**.
* To delete an existing record, click the three-dot menu, and then click **Delete**.
* To add a new DNS record for the domain, click **Add record**. The **Add record** dialog appears. Complete the fields for the record, and then click **Create**:
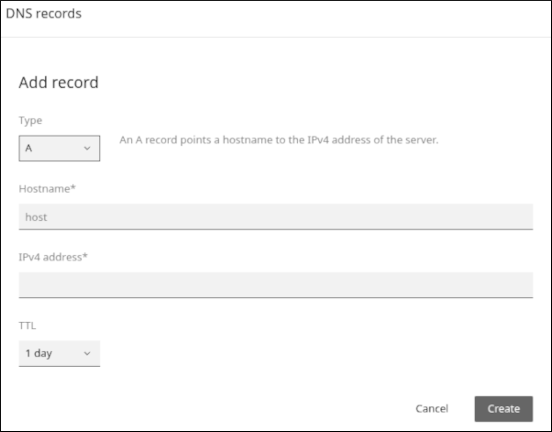
The fields change depending on the type of record you select. For example, an A record requires different settings from an MX record.
## Adding domains
You can add subdomains and aliases.
Aliases (which are sometimes also referred to as "parked domains") are often used to reserve or hold a domain name that does not have an associated web site.
To add a subdomain or alias, follow these steps:
1. In the left sidebar, click **Websites**:

2. On the **Manage websites** page, click the website you want to manage.
3. A list of tabs appears at the top of the page. Click the **Domains** tab:

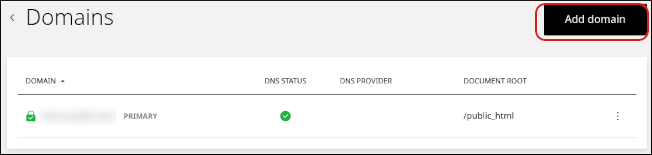
4. The **Domains** page appears. Click **Add domain**:
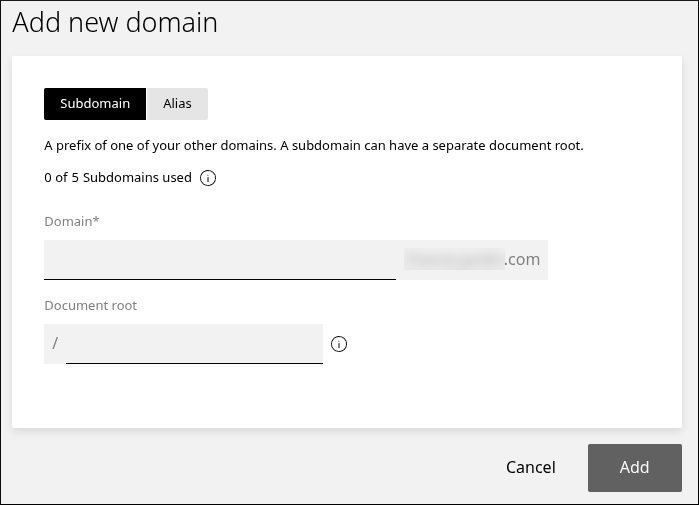
4. The **Add new domain** dialog appears:
* To add a subdomain, specify the name and document root directory, and then click **Add**:
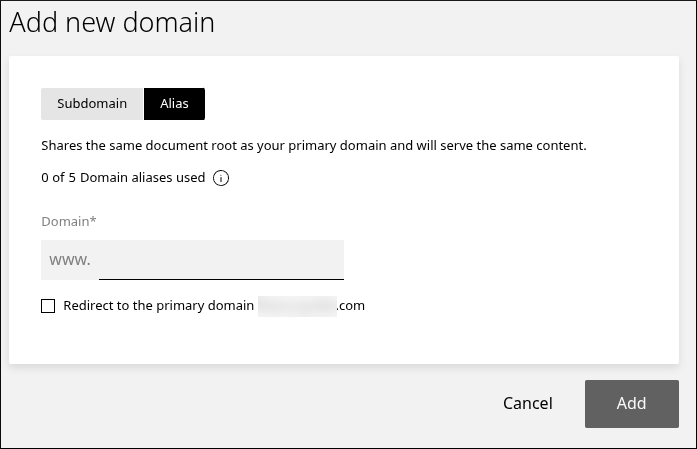
* To add an alias, click **Alias**, specify the name, and then click **Add**. If you want the alias to redirect to the primary domain, select the **Redirect to the primary domain** check box:
## Related articles
* [Managing your WordPress site in Enhance](/enhance/managing-your-wordpress-site-in-enhance)
* [Installing an SSL certificate in Enhance](/enhance/installing-an-ssl-certificate-in-enhance)
* [Managing your Email in Enhance](/enhance/managing-your-email-in-enhance)
* [Using the File Manager in Enhance](/enhance/using-the-file-manager-in-enhance)
* [Managing Backups in Enhance](/enhance/managing-backups-in-enhance)
* [Managing your MySQL databases in Enhance](/enhance/managing-your-mysql-databases-in-enhance)
* [Managing FTP accounts in Enhance](/enhance/managing-ftp-accounts-in-enhance)
* [Changing PHP versions and settings in Enhance](/enhance/changing-php-versions-and-settings-in-enhance)
* [Configuring SSH access in Enhance](/enhance/configuring-ssh-access-in-enhance)