> ## Documentation Index
> Fetch the complete documentation index at: https://kb.verpex.com/llms.txt
> Use this file to discover all available pages before exploring further.
# Backing up and restoring your data using Backuply
> This article demonstrates how to use Backuply to quickly and easily back up and restore files, email accounts, MySQL databases, and more.
This article demonstrates how to use Backuply to quickly and easily back up and restore files, email accounts, MySQL databases, and more.
You can create local backups on your hosting server, and also remote offsite backups to help protect your data.
Backuply is currently available on VPS and Dedicated servers.
Backuply is integrated with cPanel, which makes it easy to access and use. Follow the procedures below to create and restore backups for your account.
## Configuring backups
The following procedures describe how to configure and schedule backups in Backuply.
### Adding a remote backup server
You can create a local backup without any additional server configuration. Most likely though, you will want to configure offsite backups for extra data protection and redundancy.
To configure a remote backup server, follow these steps:
1. Log in to cPanel.
If you do not know how to log in to your cPanel account, please see [cPanel Hosting Overview](/cpanel/cpanel-hosting-overview).
2. On the **Tools** page, in the **Software** section, click **Backuply**:

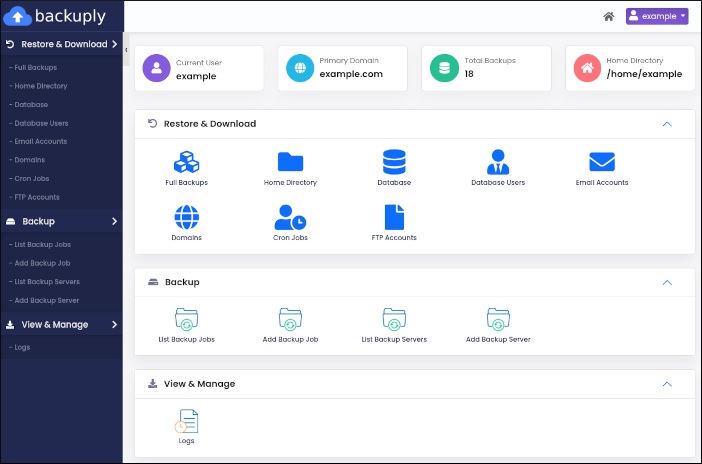
3. The Backuply dashboard appears:
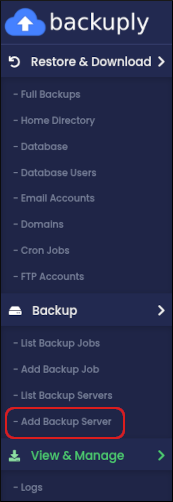
4. In the left sidebar, in the **Backup** section, click **Add Backup Server**:
5. The **Add Backup Server** page appears. In the **Type** list box, select the type of backup server you want to configure:
* SSH
* Amazon S3 and S3 compatible
* FTP
* Google Drive
* Microsoft OneDrive
6. The configuration options vary based on the type of backup server you select. Complete the options for the backup server type you selected in step 5.
7. Click **Test Connection**. Backuply checks that the connection settings are valid. If you receive a **Test Connection Failed** message, check the information you provided in step 6, and then try again.
8. After you receive a **Test Connection Successful** message, click **Submit**. Backuply saves the server configuration.
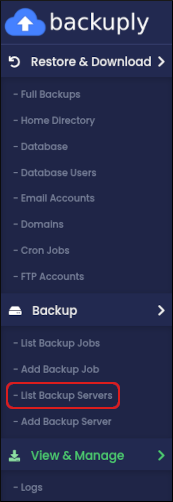
9. To view, edit, or delete the server configuration, in the left sidebar, click **List Backup Servers**:
### Scheduling a backup
To schedule an automated backup, follow these steps:
1. Log in to cPanel.
If you do not know how to log in to your cPanel account, please see [cPanel Hosting Overview](/cpanel/cpanel-hosting-overview).
2. On the **Tools** page, in the **Software** section, click **Backuply**:

3. The Backuply dashboard appears:

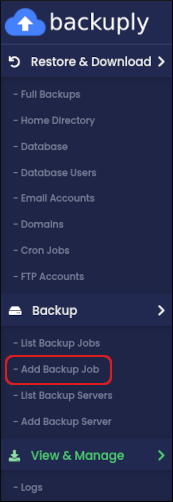
4. In the left sidebar, in the **Backup** section, click **Add Backup Job**:
5. The **Backup** page appears. In the **Select Backup Server** list box, click **Local** to create a local backup. Alternatively, click the name of a backup server you configured in the previous procedure.
6. In the **Type** list box, select what you want to include in the backup:
* **Full Backup**: This backup includes all of the next three items.
* **Home Backup**: This backup includes all of the files in your home directory.
* **Database Backup**: This backup includes all of your MySQL databases.
* **Mail Backup**: This backup includes the files for all of your email accounts.
7. In the **Max Retries** text box, type how many times you want to retry creating a backup file in the event of a failure.
8. On the **Backup Scheme** tab, select the schedule you want for backup creation. You can select a daily, weekly, or monthly schedule.
Alternatively, to set up a custom cron job, click the **Backup Cron** tab and select the schedule you want to use.
9. Click **Schedule**. Backuply saves the backup job.
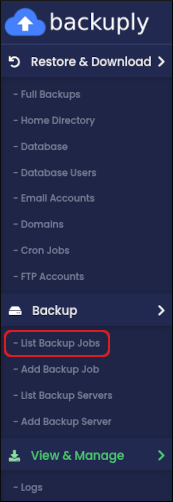
10. To view, edit, or delete the backup job, in the left sidebar, click **List Backup Jobs**:
### Creating an instant backup
You can create a backup immediately without scheduling it. To do this, follow these steps:
1. Log in to cPanel.
If you do not know how to log in to your cPanel account, please see [cPanel Hosting Overview](/cpanel/cpanel-hosting-overview).
2. On the **Tools** page, in the **Software** section, click **Backuply**:

3. The Backuply dashboard appears:

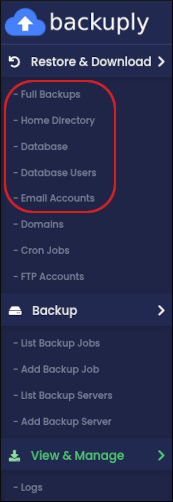
4. In the left sidebar, in the **Restore & Download** section, click the item you want to back up. You can create immediate backups of the following items:
* Full backups.
* Home directory files.
* MySQL databases and users.
* Email accounts.
5. Click **Backup Now**:

## Restoring backups
To restore a backup using Backuply, follow these steps:
1. Log in to cPanel.
If you do not know how to log in to your cPanel account, please see [cPanel Hosting Overview](/cpanel/cpanel-hosting-overview).
2. On the **Tools** page, in the **Software** section, click **Backuply**:

3. The Backuply dashboard appears:

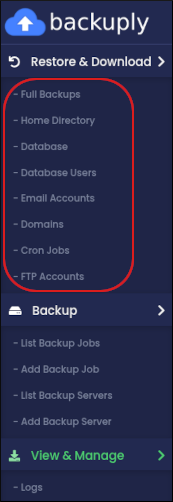
4. In the left sidebar, in the **Restore & Download** section, click the item you want to restore. You can restore the following items:
* Full backups.
* Home directory files.
* MySQL databases and users.
* Email accounts.
* Domains.
* Cron jobs.
* FTP accounts.
5. In the list of backups for the item you selected, locate the backup you want to restore, and then click the yellow arrow icon:

To delete a backup from the list entirely, click the red trash can icon:

6. To confirm the restore, click **Yes**.
## Viewing backup logs
You can view log information about your backups. To do this, follow these steps:
1. Log in to cPanel.
If you do not know how to log in to your cPanel account, please see [cPanel Hosting Overview](/cpanel/cpanel-hosting-overview).
2. On the **Tools** page, in the **Software** section, click **Backuply**:

3. The Backuply dashboard appears:

4. In the left sidebar, in the **Backup** section, click **Logs**:
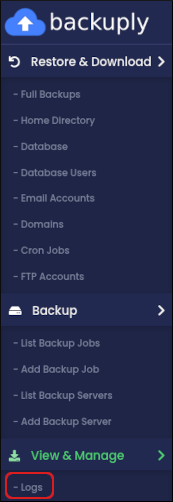
5. On the **Logs** page, information appears about backup jobs that have previously run:
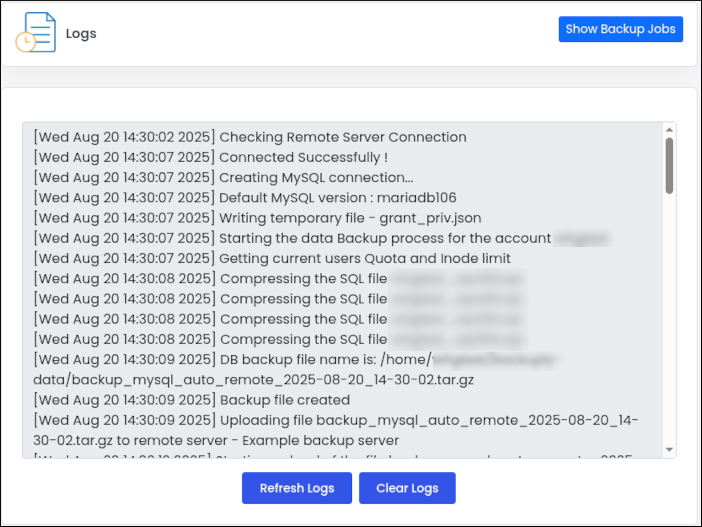
* To refresh the log information, click **Refresh Logs**.
* To clear the log information, click **Clear Logs**.
## More information
To view the official Backuply documentation from Softaculous, please visit [https://backuply.com/docs](https://backuply.com/docs).